Pronged setting
 This was the the main focus of my last jewellery course with Yvonne Chaderton. Learning how to make a pronged setting. These are mainly used to set stones on engagement rings. Most of the time these settings are bought ready-made and soldered onto a piece, but it is useful to know how to make them if you ever have to set an irregularly shaped or sized stone.
 I started off by cutting 2 lengths of sterling silver wire that were twice the height of the stone (a cubic zirconia) and soldering them ontop of one another to form an "X" shape. I then made a wire ring that the stone sat comfortably in, and bent the "X" up, and soldered the ring in it. I then cut the cross of the "X" off with a piercing saw. I made another ring to go on the bottom of that, and soldered the whole thing together.
 The setting was then soldered to the silver bail, and the stone set into it. Here are the links to my previous workshops: 1 part1, part2, part3. 2 part1, part2, part3. 3 part1, (this is part 2).
 This is the back of the setting.
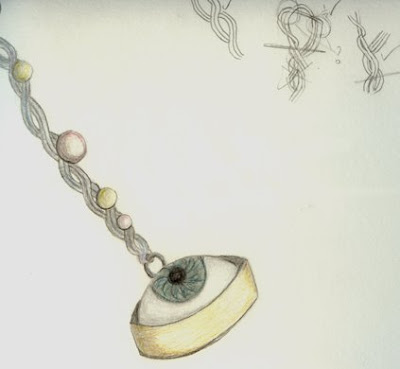
 This is a page of my sketch book, with a drawing of the above pendant.
Toby.


8 Comments:
Hi Toby,
This looks great. Really lovely to see the sketch as well. My favourite bit is the swirly wire with the pearls set into them. Really lovely. Like mermaid's hair. :-)
Sybille x
Gosh Toby, this must be a fascinating course, you are learning so much. Is that piece finished yet or is there more to come!!
Great :D Interesting to see the progression from sketch to 3D too.
Toby, you really have developed as a craftsman - this is a whole new side to you and I know you are going to go on to design some wonderful original pieces
magical transformation toby-from sketchbook to actual creation of a final piece. you sure are getting to grips with making your own jewelery! dx.
Wow,Toby, that's so different! I find the eye weird and compelling. The swirly silver and pearls set it off perfectly.
woah! cool :0) something a bit different!
This is great Toby; looks as though you've really got a long way with the silver working. Like your drawings too.
Post a Comment
<< Home